

SAP exam check-in and ID requirements for online proctoring
What you need to check in to an online-proctored SAP exam — valid photo ID, the camera and room-scan environment checks, a clear desk, arriving early, how check-in flows, and how to avoid problems. Confirm current rules on learning.sap.com.
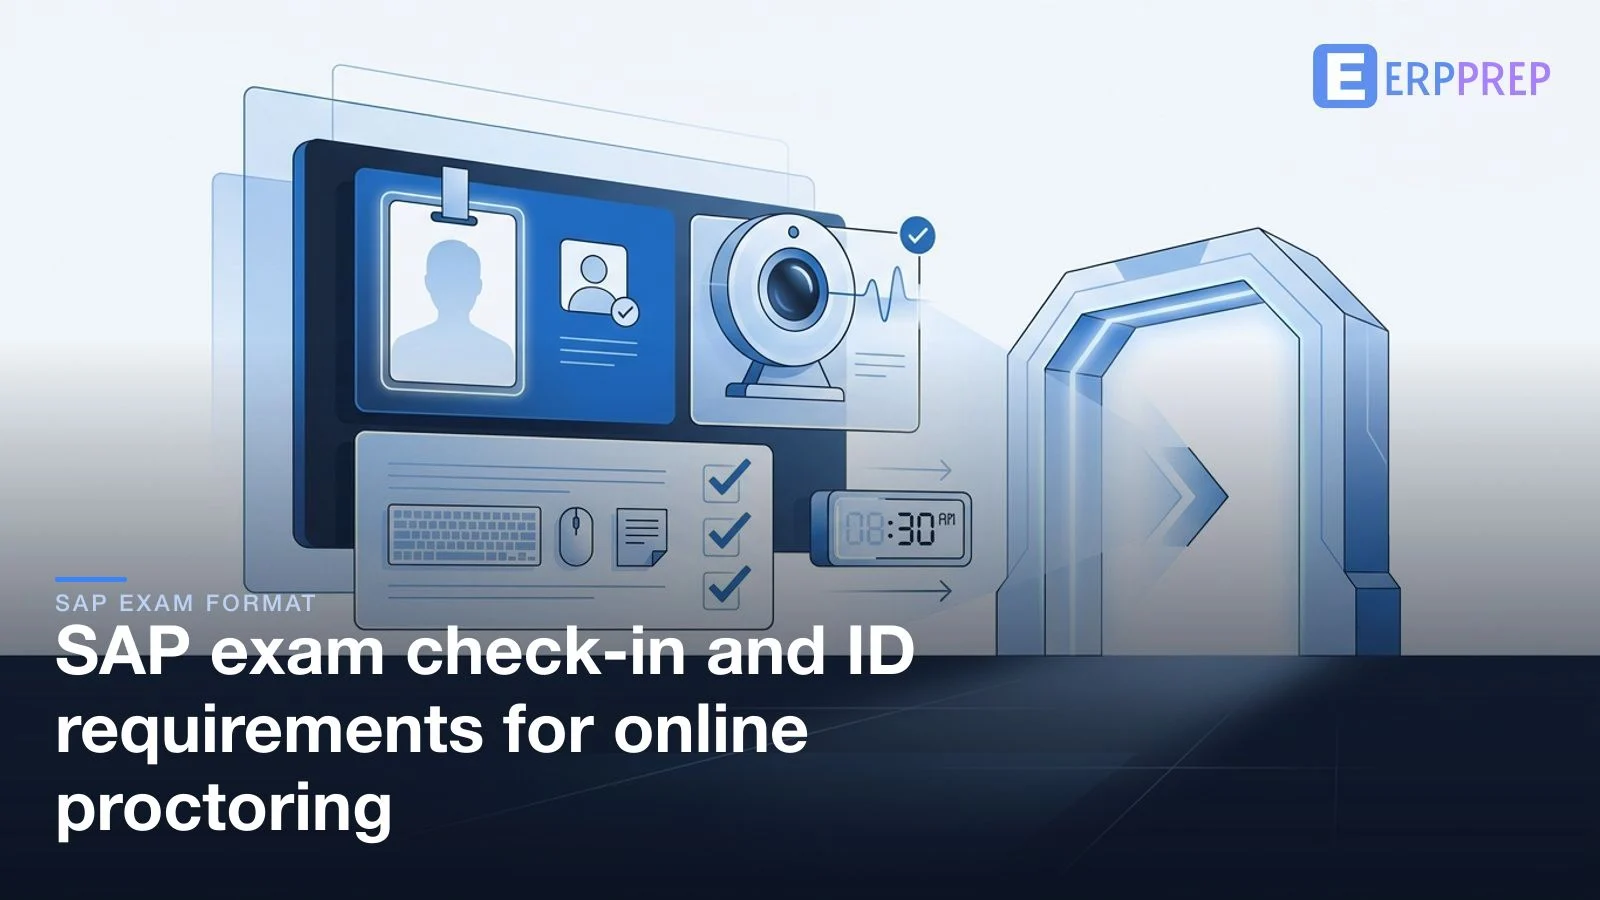
To check in to an online-proctored SAP exam you typically need a valid, in-date photo ID whose name matches your registration, a working webcam and microphone, and a quiet, private room with a clear desk. You log in early, verify your identity, complete a system and environment check (often a room scan), and the proctor admits you. Exact rules vary by region and vendor, so confirm the current requirements on learning.sap.com and your exam confirmation.
The exam content is what you studied for — but the first few minutes of an online-proctored SAP® exam are pure logistics: proving who you are and showing that your room is set up correctly. Candidates who breeze through check-in have almost always done one thing — they sorted their ID and their environment the day before, not the morning of. This guide walks the whole check-in flow so it feels routine: what you need ready, how the steps typically go, and how to sidestep the handful of problems that trip people up. It sits under the performance-based exam format guide and stays deliberately general, because the exact rules are set per exam and can change — we point you to the official page for the specifics.
To check in to an online-proctored SAP® exam you typically need a valid, in-date photo ID whose name matches your registration, a working webcam and microphone, and a quiet, private room with a clear desk. You log in early, verify your identity, complete a system and environment check (often a room scan), and the proctor admits you. Exact rules vary by region and vendor, so confirm the current requirements on learning.sap.com and your exam confirmation.
Key takeaways
- Two things gate the start: proving your identity and passing an environment check. Get both ready in advance and check-in is quick.
- Bring a valid, in-date photo ID whose name matches your registration — the single most common source of check-in trouble is a name mismatch.
- Set up a quiet, private room with a clear desk and a working camera, microphone and connection; expect a room scan.
- Log in early. A comfortable buffer absorbs any retries and keeps a slow check-in from eating into your thinking time.
- Never assume the specifics. Accepted ID types, timings, and conduct rules vary by region and vendor — confirm them on the exam's official page and your confirmation email.
What you need before check-in: ID and environment
Everything that can go wrong at check-in is decided before you sit down, so prepare two things ahead of time: your identification and your room.
On identification, the general expectation is a valid, in-date government-issued photo ID, presented to the camera, with a name that matches the name on your exam registration. That's the pattern — but the accepted document types, whether more than one document is needed, and exactly how names must match all vary by country and by the proctoring vendor for your exam. We deliberately don't print a list of accepted documents here, because such lists change and differ by region; the reliable source is the exam's official page and your booking confirmation. Check what's accepted early, and have the physical ID to hand — not in another room.
On your environment, online proctoring expects a space you can control: a quiet, private room where you'll be alone and uninterrupted, a desk cleared of notes, phones, and anything not expressly permitted, and a camera position that keeps your face clearly visible. You'll also need the technical basics working — a webcam, a microphone, and a stable internet connection — because the check-in flow tests them before it lets you in. If any of that is hard to guarantee where you are, that's worth knowing before you commit to the online mode; the online vs test-centre comparison weighs the trade-offs.
The check-in process, step by step
Check-in is a short, guided sequence. The exact wording and order differ by vendor, but the shape is consistent, and knowing it in advance removes most of the nerves:
- Log in from your confirmation. You start the session through the link in your confirmation email, usually a little before your slot. The launch link generally becomes active within a set window, so read your confirmation for the timing.
- Verify your identity. You present your photo ID to the webcam, and often a photo of you is captured, so the proctor can confirm the name and image match your registration.
- Run the system check. The platform confirms your camera, microphone, and connection are working, and may ask you to close other applications or browser tabs.
- Complete the environment check. You may be asked to show your surroundings with the camera — a room scan — and your desk, to confirm the space is private and clear.
- Get admitted. Once the proctor is satisfied, you're admitted to the exam and the timer begins.
None of these steps is difficult when you're prepared for them — they only become stressful when an ID isn't to hand, a device isn't working, or the room isn't ready. Everything in the next two sections is about removing those failure points before you begin.
Environment and room rules
Online proctoring shifts responsibility for the testing environment onto you, so it's worth treating your room as part of your preparation. The common expectations are straightforward:
- Be alone and uninterrupted. A private room where no one else enters during the session is the norm; interruptions can be flagged.
- Keep the desk clear. Notes, books, a phone, a second monitor, or other devices generally shouldn't be within reach unless they're expressly permitted for your exam.
- Stay visible. Position the camera so your face stays clearly in view for the whole session, and keep reasonable lighting.
- Expect a scan. A room or desk scan at check-in is common; having the space already tidy makes it a formality.
The precise conduct rules — what you may keep on the desk, whether scratch paper or water is allowed, how breaks are handled — are defined per exam and vendor, not assumed. Don't bring items to your desk on the belief they're allowed; confirm the permitted-materials rules on the official page first, and clear away everything else. The broader exam-day walkthrough shows how this check-in fits into the rest of the day.
Arriving early and avoiding problems
The most reliable way to have a calm check-in is simply to give yourself time. Logging in a little ahead of your slot means you can clear identity and environment checks without watching a clock, and if a check needs a second attempt — a camera permission, a browser prompt, a re-scan — you have the room to handle it. The exact window in which you can start is set per exam and vendor, so let your confirmation email tell you when to log in.
A short pre-flight the day before removes almost every avoidable problem:
- Check your ID against your registration name and confirm the document type is accepted for your exam and region.
- Test your camera, microphone, and connection on the same device and browser you'll use, and run any system-check tool the vendor provides.
- Prepare the room: clear the desk, arrange for privacy, sort lighting, and — where you can — use a stable, ideally wired, connection.
- Locate the support contact and your confirmation details so they're to hand if a check needs help.
Do those four things and check-in becomes a two-minute formality rather than a source of stress. It's also worth being ready for the one thing outside your full control — connectivity — which is covered in what happens if your internet drops mid-exam.
Never sat an online-proctored exam? The check-in itself is routine once you've prepared — and the best way to take the surprise out of the rest of the day is to feel the performance-based style once in advance. Try a free sample.
If check-in fails
Sometimes a check won't pass — a camera permission is blocked, the connection wobbles, or an ID isn't recognised on the first try. This is normal, and it's recoverable if you stay methodical. Follow the on-screen guidance first: the platform usually prompts a specific fix — retry the scan, grant a permission, switch or restart the browser, or contact support. Because you logged in early, a retry costs you buffer time, not exam time.
Two things make this far less stressful. First, know the vendor's support channel before the day, and keep your confirmation details handy so you can identify your booking quickly. Second, if a genuine, serious issue prevents you from starting at all, don't just retry endlessly — use the exam provider's stated support and rescheduling process. If a name mismatch is the blocker, that's exactly the kind of thing to have resolved beforehand; and if you need to move the sitting, the booking, rescheduling and cancellation overview explains how changes generally work.
Where to confirm the current requirements
This guide is deliberately general because the details that matter most — which ID documents are accepted, the exact login window, and the conduct rules — are set per exam, per region, and per proctoring vendor, and they change. So treat the following as your authoritative sources every time, rather than any general summary:
- SAP's learning site and the SAP Certification Hub for your specific exam (SAP, learning.sap.com), which publish the format and the official requirements.
- Your booking confirmation email, which carries the timing, the launch link, and the vendor's candidate guidance for your sitting.
- The proctoring vendor's own candidate instructions, linked from your confirmation, for the ID, system, and environment specifics.
If you want to see how one exam's content and preparation map onto this same check-in and environment, the C_TS4FI hub is a useful example — the check-in flow is the same across associate exams, while the blueprint and rules live per exam. Handle the ID and the room in advance, confirm the current rules on the official page, and check-in stops being a worry and becomes the routine first step it's meant to be. When you're ready to feel the exam itself, try a free ERPPrep sample and rehearse the part that actually earns the pass.
Frequently asked questions
- What ID do I need for an online-proctored SAP exam?
- You are generally asked for a valid, in-date government photo ID whose name matches the name on your exam registration. Because the accepted document types and matching rules differ by country and by proctoring vendor, treat the exam's official page and your booking confirmation as the source of truth. Check exactly what is accepted well before the day rather than assuming, and have the ID physically ready at check-in.
- What are the check-in steps for an online SAP exam?
- Check-in usually flows in a short sequence: you log in through the link in your confirmation, verify your identity by showing your photo ID to the camera, complete a system check of your camera, microphone and connection, and pass an environment check that often includes a scan of your room and desk. Once the proctor is satisfied, you are admitted and the exam begins. The exact steps and wording vary by vendor.
- How early should I arrive for an online-proctored SAP exam?
- Give yourself a comfortable buffer — logging in a little ahead of your slot lets you clear identity and environment checks without pressure, and leaves room if a check needs a second attempt. The specific window and how the launch link becomes active are set per exam and vendor, so read your confirmation email and the official page for the exact timing. Arriving early is one of the simplest ways to avoid a stressful start.
- What are the environment rules for an online SAP exam?
- Online proctoring typically expects a quiet, private space where you are alone, a clear desk free of notes, devices and unauthorised materials, and your face clearly visible to the camera for the whole session. A room scan may be requested at check-in. Because the precise conduct rules are published per exam and can change, read them on the official page in advance and set your room up to match before the day.
- What if the name on my ID differs from my registration?
- A mismatch between your ID and your registration name is one of the most common check-in problems, and it can hold up or block your session. If the names differ — an abbreviation, a maiden name, an ordering difference — sort it out before the day rather than at check-in. Check the matching rules and correction process on the exam's official page and with the scheduling partner as early as possible.
- Can I have anything on my desk during the exam?
- As a rule, online-proctored exams expect a clear workspace — no notes, no phone, no second screen, and nothing that isn't expressly permitted. Any allowances, such as scratch paper or water, are defined per exam and vendor, not assumed. Do not bring items to your desk on the belief they're allowed; confirm what is and isn't permitted on the official page and your confirmation beforehand, and clear everything else away.
- What if check-in fails or the proctor can't admit me?
- If a system or identity check won't pass, follow the on-screen guidance first — it often prompts a retry, a browser or camera fix, or a support contact. Knowing the vendor's support channel in advance, and having your confirmation details to hand, makes this far less stressful. If a serious issue prevents you from starting, use the exam provider's stated support and rescheduling process rather than repeatedly retrying blindly.
- Where do I confirm the current check-in and ID requirements?
- Always confirm against the current, official sources: SAP's learning site (learning.sap.com) and the SAP Certification Hub for the exam, your booking confirmation email, and the proctoring vendor's own candidate guidance linked from it. These reflect the rules in force for your region and delivery mode. This article stays general on purpose because ID lists, timings and conduct rules change — the official page is what stays current.
ERPPrep is an independent platform and is not affiliated with, endorsed by, or sponsored by SAP SE. SAP and other SAP products are trademarks of SAP SE, referenced here only to describe the certification exams ERPPrep helps you prepare for.
Ready to practise the way the exam tests?
ERPPrep provides original, performance-style scenarios and skill drills built for the 2026 SyBA and SBA formats. Try a free sample and judge the quality yourself.
Practice for these exams
Related guides
SAP exam languages and international availability
Which languages SAP certification exams are offered in, why many performance-based exams launch in English, how to check the language for your specific exam, and tips for non-native English speakers sitting a proctored exam.
Online-proctored vs test-center SAP exams: what to expect
A calm, honest comparison of the two ways to sit an SAP certification exam in 2026 — online proctored from home vs a physical test centre. Requirements, environment rules, pros and cons, and how to choose the mode that suits you.
SAP exam accommodations and accessibility: what's available
A practical, reassuring guide to accommodations for SAP certification exams — the kinds of support that may be available, how and when to request one (usually before booking), documentation you may need, and where to confirm the current, authoritative process.